|
|
Winter is full of challenging situations. So much goes on from snowing, thawing, freezing, drifting and blowing that winter is constantly changing. Learn good winter exposure techniques to take advantage of all winter's opportunities.
Following are ten tips for you to be a "winter photographer" rather than a "fair weather photographer".
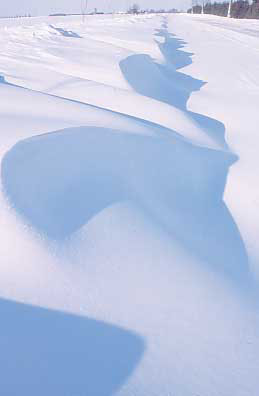
Snow is White! To get the best exposure for snow, meter the brightest area of white snow and add 1 1/2 to 2 stops of light. It is very important to meter the brightest area of snow so it will show texture and shadow. Remember, your camera will make everything middle gray. That's why you have to add light to snow to make it white.
Compose First! Some zoom lenses change exposure throughout the zoom range, so compose the photograph first, and then take your meter reading from the brightest area of snow.
Blue Sky: On a day with a bright, deep blue sky, you may meter the blue sky. This way you do not need to make any manual adjustments to the camera settings. Since blue skies can vary, it is best to bracket up and down to ensure the exposure you prefer.
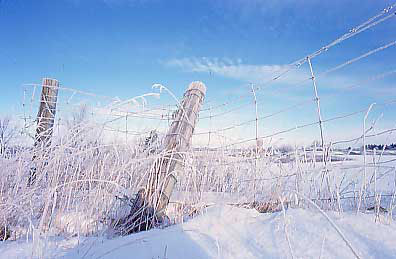
Overcast Lighting - Exposure! On an overcast day with dull light and little or no sparkle to the snow, an exposure taken from the snow of plus + 2 stops will ensure the snow is white.
Overcast Lighting - Composition! The snow loses sparkle and texture on an overcast day, so include objects such as buildings, fences, trees etc, in the Composition. This will add interest and impact to the photograph.
Fog and Mist with Snow! Fog and mist add mood and impact to a photograph. Take your meter reading off the fog and mist and then compensate by plus + 1/2 to 2 stops of light. This is the same technique for fog and mist any time of the year.
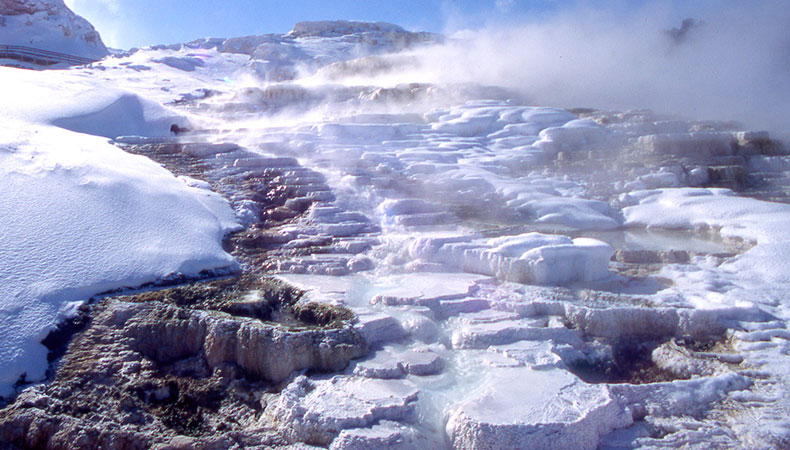
Ice Cycles and Ground Ice! Ice formations usually have texture and patterns. To accentuate these patterns and textures, meter only the brightest part of the ice and set your camera for plus + 1/2 to 1 stop of light.
Snow, Sun and Shadow! Winter is a great season for side lighting and backlighting because the sun is always low in the sky. Meter the brightest white snow and add plus + 1 1/2 to 2 stops of light. You may also meter a bright, dark blue sky but without any manual compensation.
Snow Color Varies! Snow takes on the color of the sky. If you want to take the blue out of the snow, place a warming filter such as an 81B on the lenses and then meter the snow your usual way. If you want to remove the warm light of morning add a blue cooling filter and meter the snow the usual way. See what you like first by taking a few test photographs.
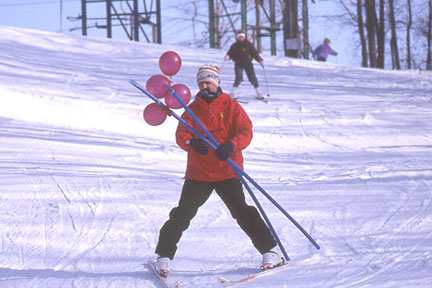
Moving Color! Winter snow is beautiful but too much of a good thing gets tiresome.
Look for color to add to your photographs. If the color objects such as skiers, snowmobiles etc. are moving, meter the snow as explained above and then the objects that move into the viewfinder will be properly exposed.