
|
|
Night photography that I mentioned as an Art in Dark is my favorite. Cityscapes are lit with a myriad of interesting and colorful light sources, such as neon signs, store windows, and car lights.
Night photography is a slow process thus to create great nighttime shots, you will require a long exposure. In addition the best cameras and lenses have a difficult time with autofocus in low light so you need to switch your lens to manual focus.
What we need to take awesome night photos?
Timing
Half an hour before and after sunset is the best time for night photography. I tried at dark and dusk but at dusk, colors and details are easier to capture.
Quality
If you want the best night shots you need to shoot in the best image quality, and that means RAW that gives more flexibility when you want to change things such as colour temperature, increase or decrease your exposures.
Using a tripod
Make sure your tripod is set up correctly. Any slight movement can make your photos blurry.
Don't touch your camera!
When taking long exposures at night, even touching your camera to press the shutter button can create enough movement to leave you with blurred results. Use your digital camera's built-in self-timer to trigger the shutter after you've pressed the button to avoid any problems.
A lens hood
To minimize lens flares from light entering at angles outside of your frame.
Have Spare Batteries On Hand
Long exposures and cold weather can quickly drain camera batteries. Make sure to carry spare batteries.
** Now we need to go for camera’s setting. I am an amateur photographer therefore I can’t give you a fixed number I just share my camera’s setting with you.
The exhibit photos are taken in my backyard and some of them at Vandusen Park in BC which is edited with photo shop.
This photo was taken with Nikon D90, Focal length 135, ISO 100,F 22 with 8 second exposure time.
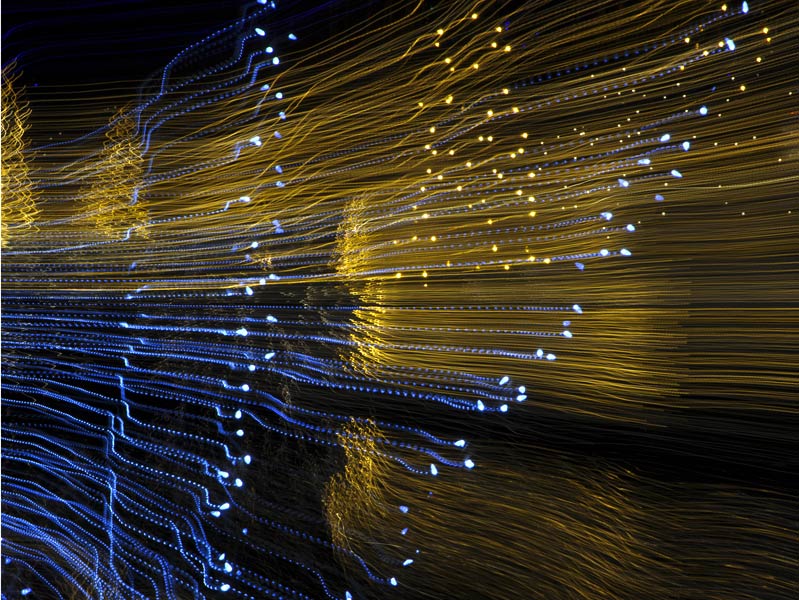
My main photo was taken with moving the camera from right to left and at the same time zoom in and zoom out.
Then I edited the photo with photo shop.
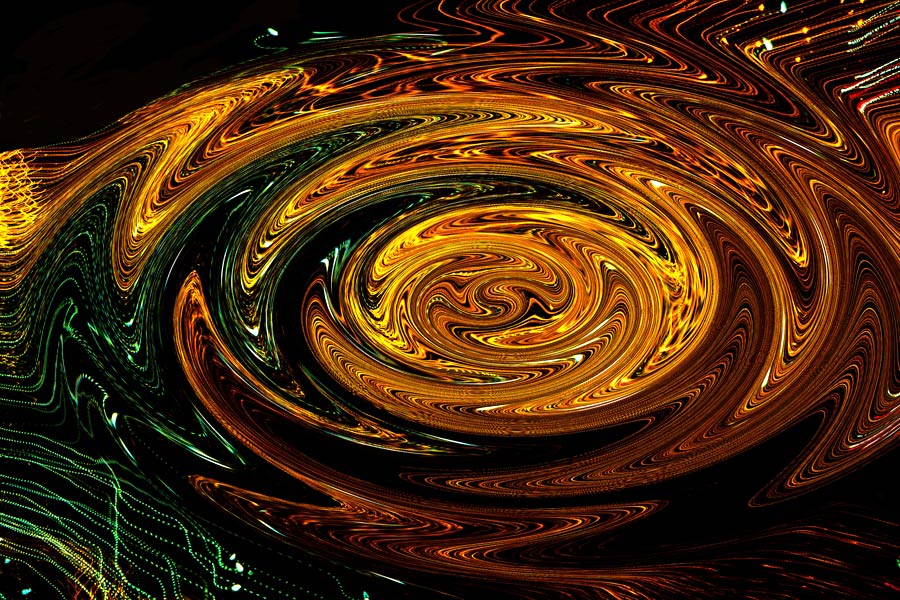
After choosing the photo and remove the unwanted parts go to :
Image - Adjustment - change the color temperature with color balance then changing the saturation
After that I use Filter – liquefy – Twirl and the below photo is my edited photo.
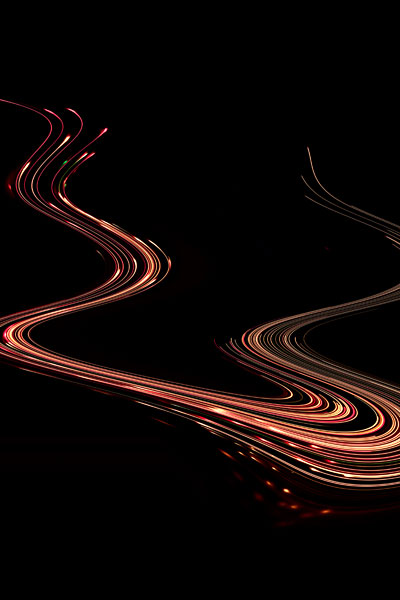
My next photo that was taken with Nikon D800, Focal length 14 mm, ISO 100,F 22 with 13 second exposure time.
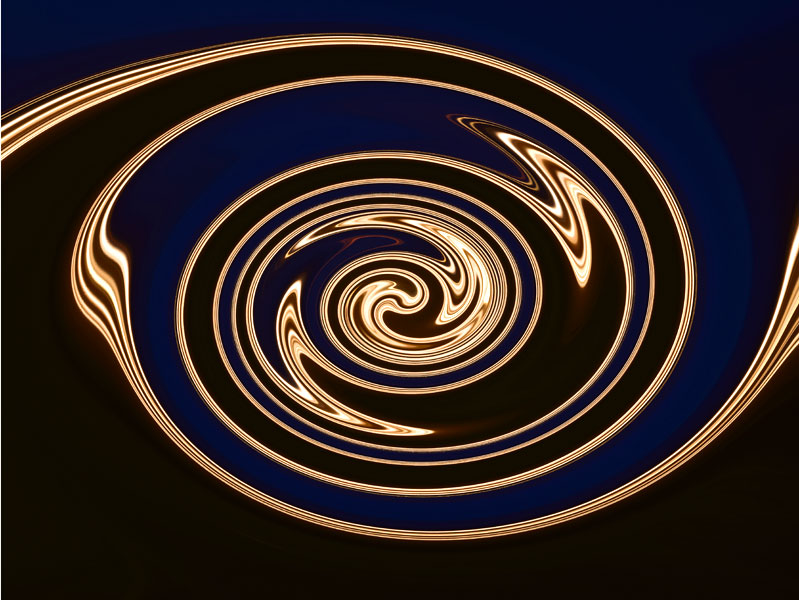
In photo shop I cropped the photo then motion blur – Filter – Distort – Pinch and twirl the photo in the below is my edited one.
Focusing in the dark certainly requires some careful patience, Practice and Check. There’s nothing more frustrating than returning home and finding that half of your photos are out of focus which is happened to me a lot.
Eventually just make sure that your focus point is sharp.